How to create a child theme on WordPress
Marc Wagner
July 5, 2021
No matter whether you have your website created by an agency, hired a freelancer or take care of it yourself — you should definitely create a child theme before you start adding content to your page.
Why should I create a child theme for WordPress? #
WordPress themes are updated regularly by the authors. With a theme update, all files in the folder are going to be overwritten.
If you now make changes yourself, which makes sense from time to time, these files will be overwritten during an update.
Then I just stop updating my theme? Sure, you could do that, but at some point you run the risk that your theme is no longer compatible with the latest WordPress versions and errors occur.
The effort for creating a child theme is actually minimal. Plus, you only need to do this job once. After that, everything runs by itself.
How can I create a child theme? #
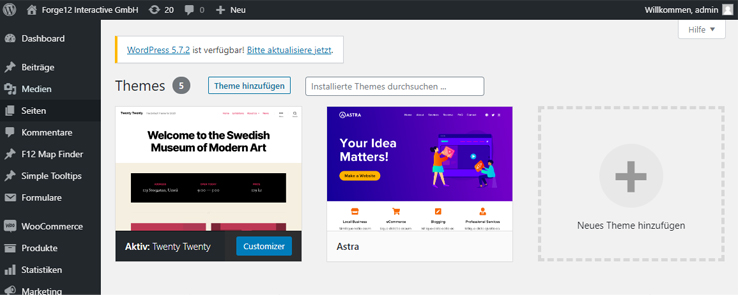
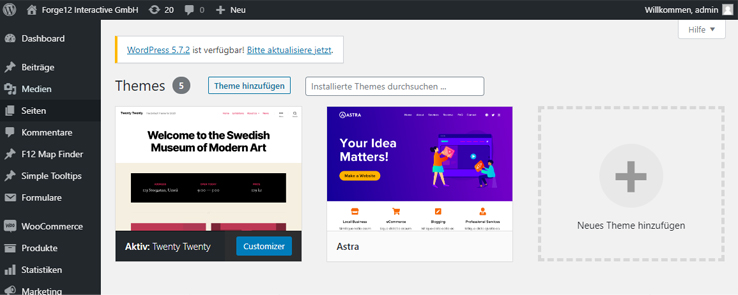
First select and activate the theme of your choice for which you want to create your child theme. (Design> Themes)

Create a folder for the child theme
As soon as you have installed your theme, you connect to your server with the FTP client of your choice. There you switch to the folder wp-content > themes.
Now create a new folder. How you call this is up to you. Usually you take the title of the theme and add “-child” to it.
For example, “twentytwenty” becomes “twentytwenty-child”.

Create the style.css file
Once you’ve created the folder, create a file called style.css. Insert the following template and replace the texts afterwards:
/*
    Theme Name:   Twenty Twenty Child
    Description:  Mein Child Theme
    Author:       Mein Name
    URI:          Meine Webseiten URL
    Template:     twentytwenty
    Version:      1.0
    Text Domain:  twenty-twenty-child
*/
Create the functions.php
Now we have to create the functions.php file in the child theme folder. Paste the following code as a template.
function child_theme_styles()
{
    wp_enqueue_style('parent-style', get_template_directory_uri() . '/style.css');
    wp_enqueue_style('child-theme-css', get_stylesheet_directory_uri() . '/style.css', array('parent-style'));

}

add_action('wp_enqueue_scripts', 'child_theme_styles');
The code specifies that the stylesheet from the original theme is loaded first. The stylesheet is then loaded from the child theme.
Create a preview image
You can now create a preview image that will then be displayed under Design > Themes. For this, you simply create an image with the name “screenshot.png” and save it in the child theme folder. Alternatively, you can also copy the image from the original theme.
Activate the child-theme
Now all you have to do is activate the child theme. To do this, switch back to your WordPress dashboard under Design> Themes and activate it.

The child theme should now be activated and you can start to add your content.
Further adjustments #
If you only installed the child theme afterwards, you have to apply a few customization settings. You can use the Customizer Export / Import plugin for this.
Summary #
That’s it already. You see, the effort for creating a child theme was relatively easy and quick to do. In addition, it saves a lot of work as soon as there is an update.
Artikel von:
Marc Wagner
Hi Marc here. I’m the founder of Forge12 Interactive and have been passionate about building websites, online stores, applications and SaaS solutions for businesses for over 20 years. Before founding the company, I already worked in publicly listed companies and acquired all kinds of knowledge. Now I want to pass this knowledge on to my customers.

