Contact Form 7
Marc Wagner
March 11, 2025
Video instructions #
Preparation #
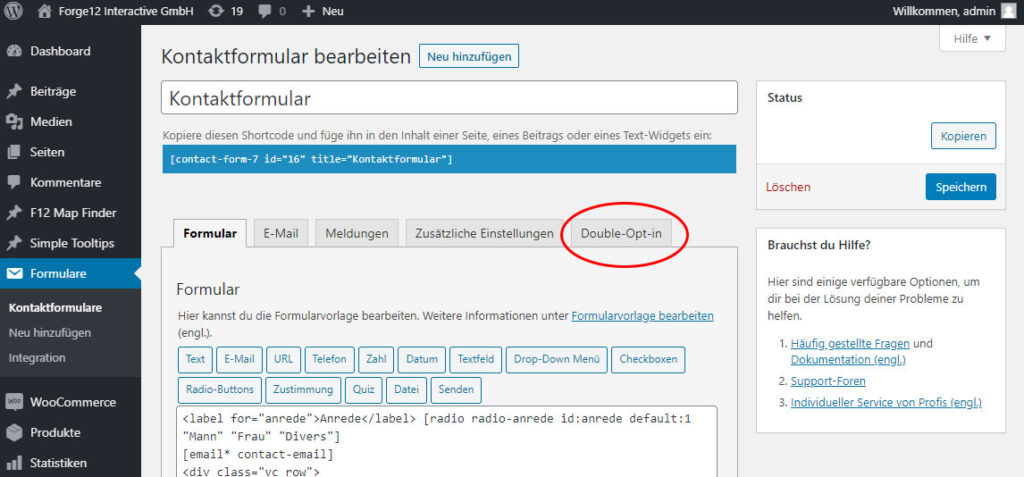
To configure your Contact Form 7 forms, first go to Forms > Contact forms and select the form you want to edit. Then click on the Double opt-in tab to make the appropriate settings.

Step 1: Activate double opt-in #
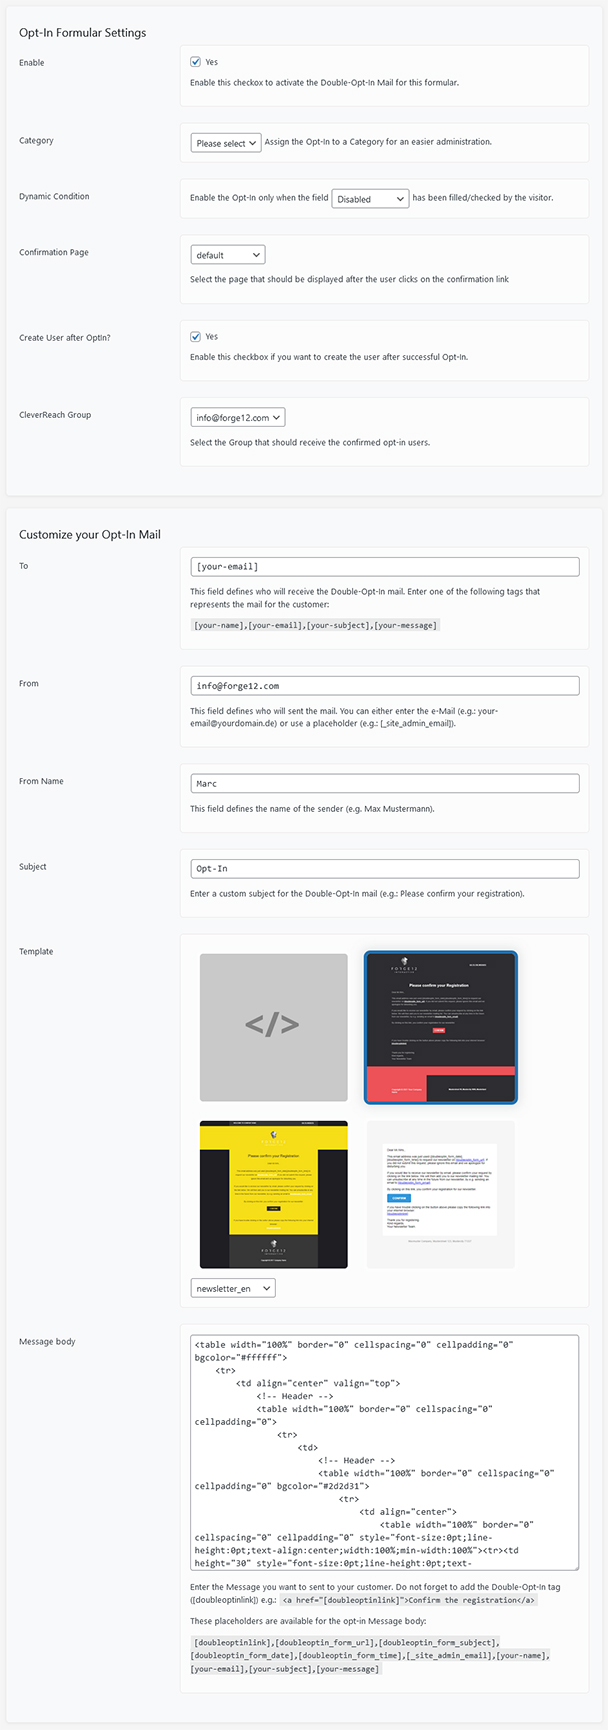
First, you must activate the double opt-in for the selected form. To do this, place a tick in the checkbox next to the “Yes” label.

Step 2: Configure opt-in mail #
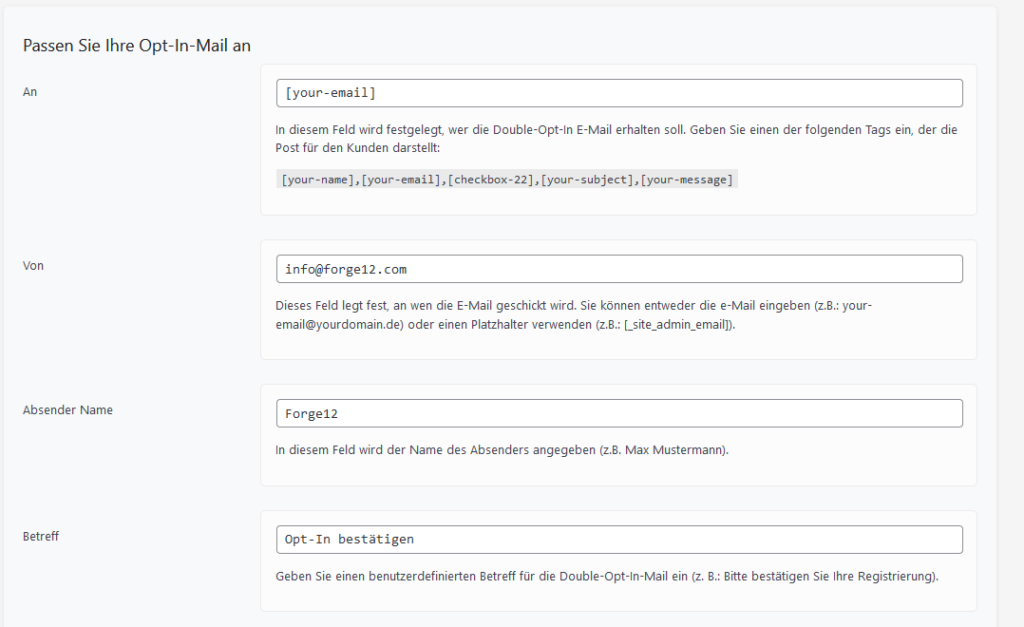
After activation, you must configure the opt-in email. To do this, enter the name of the form field containing the visitor’s e‑mail address in the corresponding field.
In the “To” field, make sure that both upper and lower case letters and brackets are entered correctly. Ideally, copy the placeholder from the line below the description and remove any unnecessary spaces

Then enter the sender (From), the name of the sender (Sender name) and the desired subject .
Then select the desired template and save the settings by clicking on the “Save” button.
Example configuration
Here you can see an example of the configuration of the double opt-in:

Step 3: Configure standard mail #
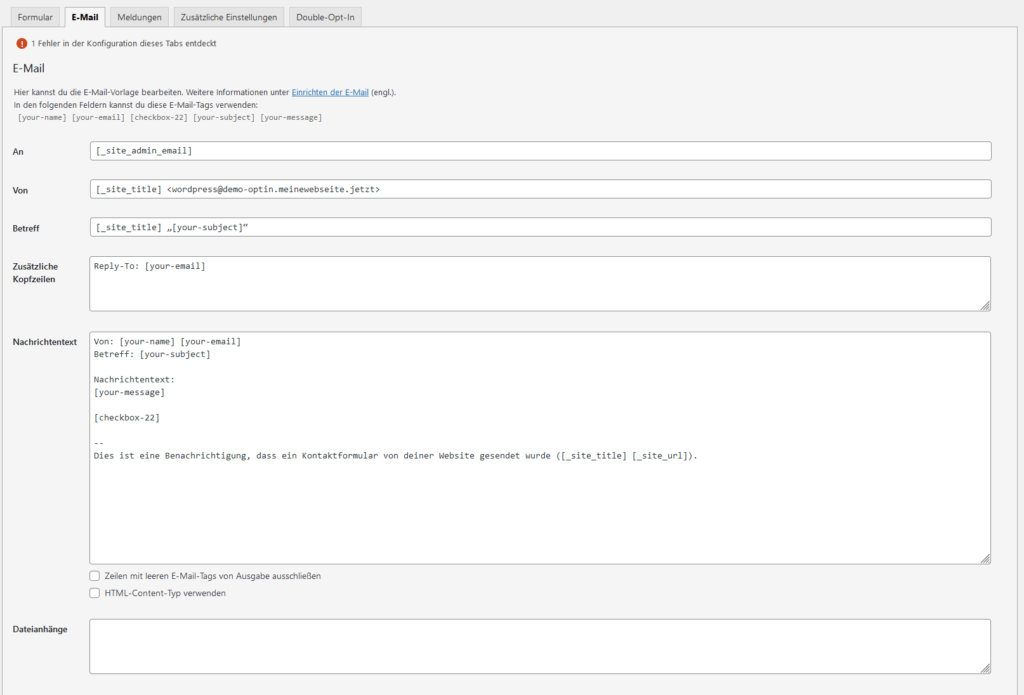
As soon as the opt-in system is activated and configured, you should set up the standard emails. To do this, use the Contact Form 7 settings in the Email tab as usual.

To send a standard email after the double opt-in, enter the recipient (To), the sender (From), the subject and the message text as usual. Then save the settings by clicking on “Save”.
The double opt-in also supports the e‑mail (2) function of Contact Form 7, allowing you to send a confirmation e‑mail both internally and externally. To do this, activate the “Use email (2)” option by ticking the corresponding box and then configure the recipient and the content of the email.
If you want to send files to the recipient after the double opt-in, make sure you use the e‑mail (1) for this.
Explanation of terms #
| Parameters | Description |
| Enable | Activate / deactivate the double opt-in function for the form |
| Category | Categorize all double opt-in entries |
| Dynamic Condition | Activate the double opt-in function depending on a form value |
| Confirmation Page | Confirmation page for the double opt-in |
| Create User after Opt-in? | Activate if a user account is to be created for the user after the successful double opt-in. |
| To | Recipient of the double opt-in mail. Use placeholders from Contact Form 7, e.g. [your-email] |
| From | Enter the sender’s e‑mail address |
| From Name | Enter the name of the sender of the e‑mail |
| Subject | The subject of the double opt-in e‑mail |
| Template | Various templates for the double opt-in e‑mail |
| Message Body | The content of the double opt-in e‑mail. HTML is allowed. |
Article from:
Marc Wagner
Hi Marc here. I’m the founder of Forge12 Interactive and have been passionate about building websites, online stores, applications and SaaS solutions for businesses for over 20 years. Before founding the company, I already worked in publicly listed companies and acquired all kinds of knowledge. Now I want to pass this knowledge on to my customers.

