0
Founded
Forge12 is deliberately lean: senior-led, a founder who writes code himself — and runs its own SaaS products. No sales funnel, no chain of translators. You talk to the person who builds.
We're deliberately lean: senior-led, the founder builds himself. That means no sales calls with people who later have nothing to do with the project. No junior devs handing your code up to seniors. You talk to me — from the first call to going live.
Three ways to work with us — depending on whether you want lasting peace of mind, have a concrete project, or are looking for a ready-made tool.
Concept, code and operation from one hand: we build and run our own SaaS products in production — the same engineering depth goes into every client project.
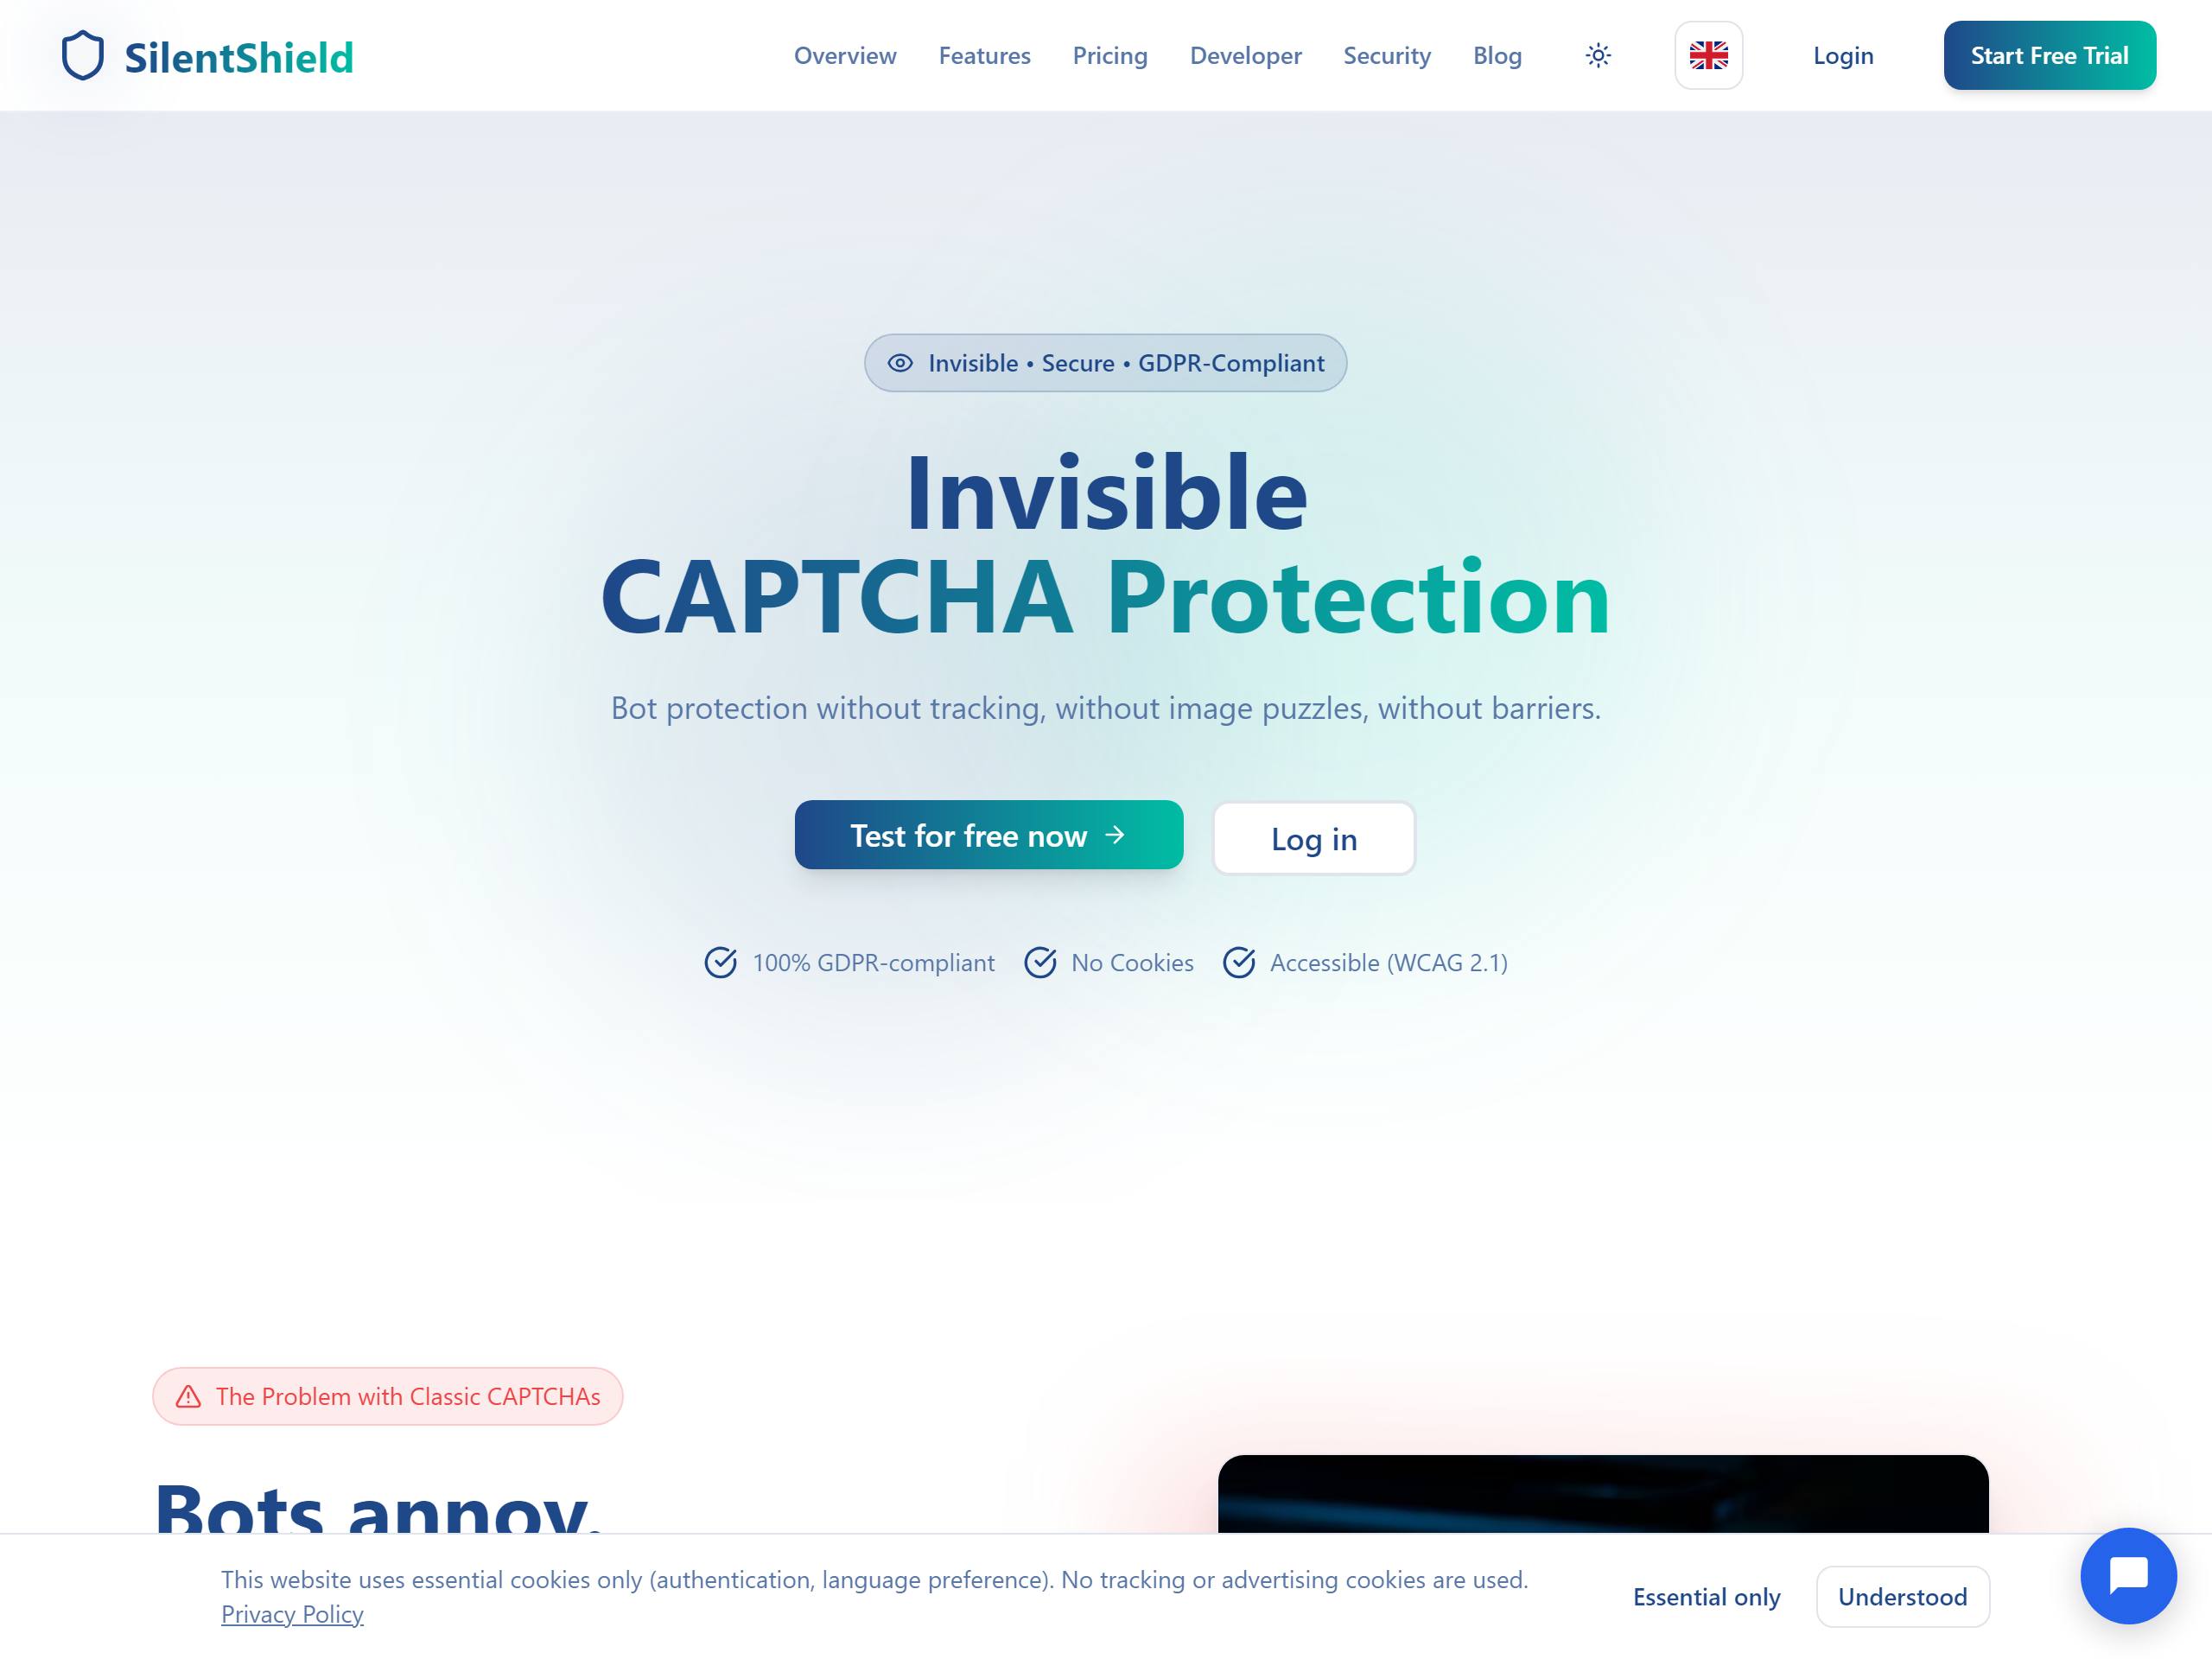
Our own SaaS: GDPR-compliant spam and bot protection without annoying captchas — the European alternative. Concept, development and operation entirely by us.
Our own SaaS: live chat, AI chatbot, knowledge base and tickets in one platform. Hosted in Germany, set up in 5 minutes.

30 min with the founder. We listen, ask the hard questions, send an honest assessment.
Fixed price or sprint format. Clear deliverables, clear date.
You see progress daily. Staging, code, short Loom updates.
Roll-out, docs, handover. Optional: the studio retainer takes over maintenance.
“From my very first call with Marc Wagner and Nicole Friedl it was clear within minutes: they understand what I need and know exactly how to deliver it.”
“A really pleasant and great collaboration! We've built several web projects with Forge12 and, thanks to those great experiences, handed the ongoing maintenance to them too.”
“Genuinely great and fast service with very competent support. Finding Forge12 was a stroke of luck. Wholeheartedly recommended.”
The founder himself — senior-led in the studio. No offshore, no subcontractors, no junior-to-senior hand-off. You get code from people you know.
First call within 48 h. Sprints usually start the following week. For maintenance takeovers from a previous provider: typically a 2-week handover.
We take on projects we can properly get into — typically 5k to 80k €. Larger projects we break into sprints. We'd rather decline than overcommit.
A 2-week sprint from 9.500 € fixed price. Larger projects are split into several sprints — you decide after each whether it continues.
An annual licence with updates and support — you pay per year and domain. No lifetime, because we actively keep developing the plugins and that's only fundable through licence renewals.
Standard case. We run a technical audit and take over repo, hosting and maintenance — typically within 2 weeks.